SinglePoint comes loaded with frequently-used forms to help you sell and service your book of business. You can create these forms, save them, print them as PDFs, and email them.
You can access the forms from the SinglePoint dashboard, from the Forms tab, or from the Quote Summary screen. When you create your form from the dashboard, you will need to enter all the data, as there is no data to pre-fill the form. When you create a form from the Forms tab or from the Plan Summary screen, all client, risk and coverage data will flood into the appropriate fields. See slideshows below for more information.
MA Auto forms supported in SinglePoint
- 2A Form
- Insurance Binder
- Insurance ID Card
- MA Personal Auto App
- Registry and Title Application (RTA)
- Personal Auto Policy Change Request Form
MA and RI Homeowners forms supported in SinglePoint
- Homeowner Application
- Insurance Binder
- MPIUA Homeowner Application
- RIJRA Homeowner Application
- Homeowner Application Short Form
- Cancellation Request/Policy Release
- Evidence of Property Form
MA and RI Dwelling/Fire forms supported in SinglePoint
- Dwelling Fire Application – Acord 84 (2005/08)
- Dwelling Fire Application Short Form – Acord 84 (2005/08)
- MPIUA Dwelling Fire Application – Acord 65 MA (2010/03)
- RIJUA Dwelling Fire Application – Acord 66 RI (2010/03)
- Insurance Binder – Acord 75 (2004/09)
- Cancellation Request/Policy Release
- Evidence of Property Form
Personal Umbrella forms supported in SinglePoint
- Personal Umbrella Application – Acord 83 (2011/01)
- Cancellation Request/Policy Release
Commercial forms supported in SinglePoint
- Certificate of Liability Insurance
- Certificate of Property Insurance
In the Premiums tab, rate your quote. The View Plan Summary button (magnifying glass) will appear.
Open the Plan Summary. At the top of the Plan Summary, select Forms.
When your form is complete, go to the top of the page and save it to your cloud storage. You are now able to create a PDF that can be printed, edited, and emailed to your customer.
While in an open quote, from the Forms tab, select New Form.
The Forms menu will appear. Choose your form and click Create Form.
Select your plan, the risk, and click Create Form.
Complete form as required. Be sure to save your form. Of course you can print and send your form to your cuistomer as well.
In the SinglePoint dashboard you can create a new blank form by clicking Open then Forms in the top navigation bar. Alternatively, you can click the purple New Form button in the side bar.
Be sure to select Create New Client if you want to save the form. Leaving the radio button on None will prevent you from saving and/or editing the form.
When your form is complete, go to the top of the page and save it to your cloud storage. You are now able to create a PDF that can be printed, edited, and emailed to your customer.
How to find a form
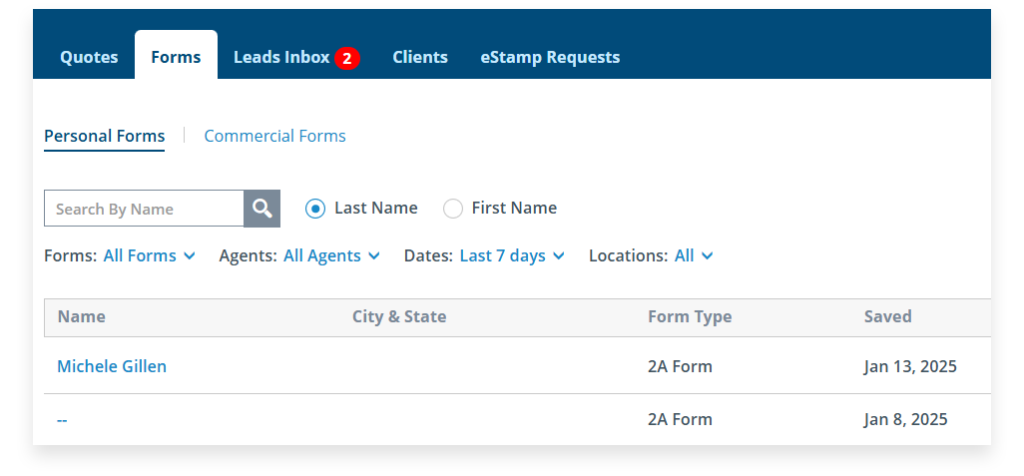
To find non-RMV forms, go to the Forms tab on the dashboard. Your saved forms will be displayed in the list. Click the name to open your saved form.

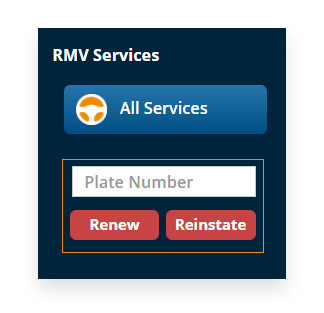
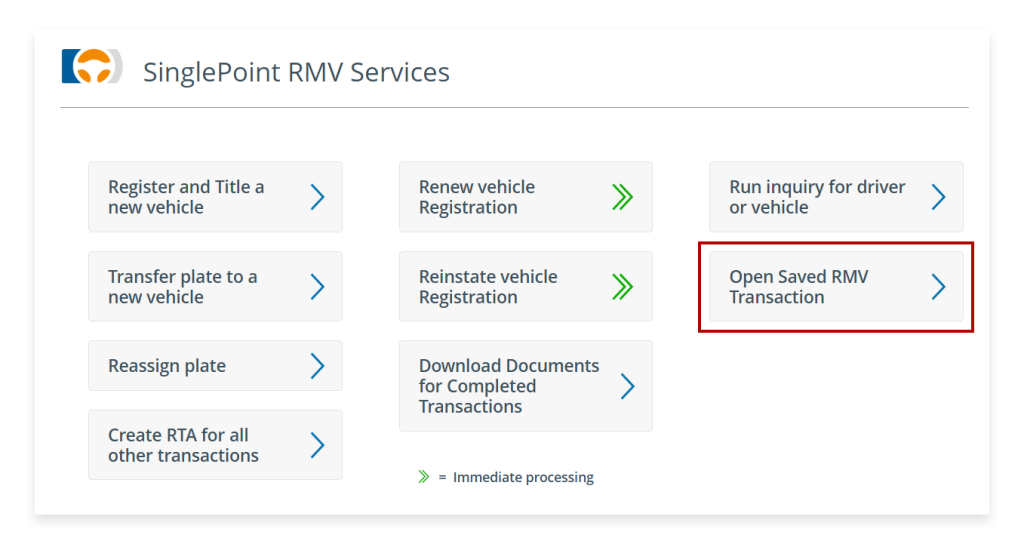
To find a Registry Form, go to RMV All Services.

Select Open Saved RMV Transaction.

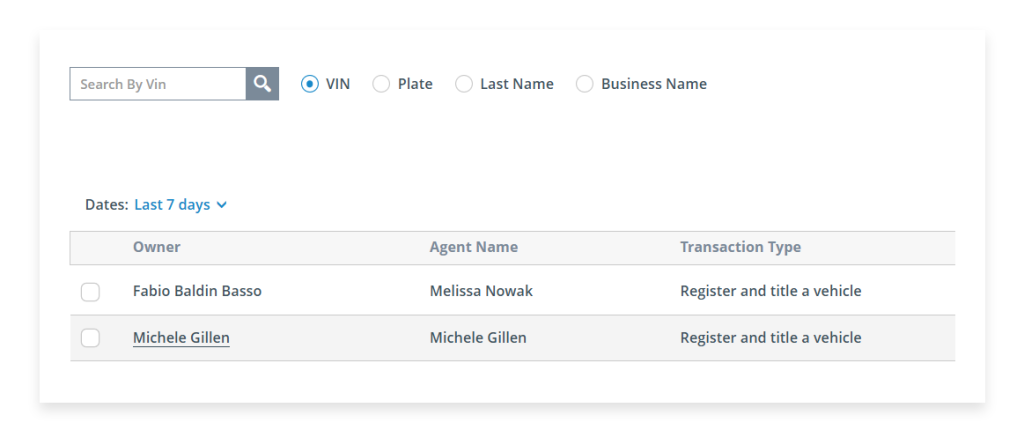
Find the form by name or VIN on the list and select it to reopen the form.


