
SinglePoint’s new UpDoc feature enables you to import a photo or scan of your prospect’s insurance docs and automatically populate the relevant data fields in SinglePoint. Click on a tab below for specific instructions.
NOTE: You will need a clear digital image of the page you wish to import to begin. Make sure the file is saved to a location on your computer or network that SinglePoint can access.
Open SinglePoint Rating and click on the Auto button for a new auto quote.
Choose the Effective Date of the quote.
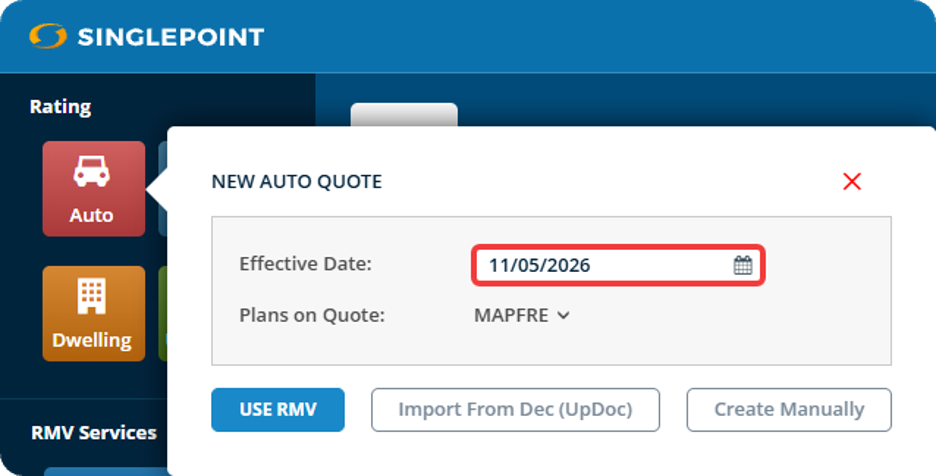
Click the Import from Dec (UpDoc) button.
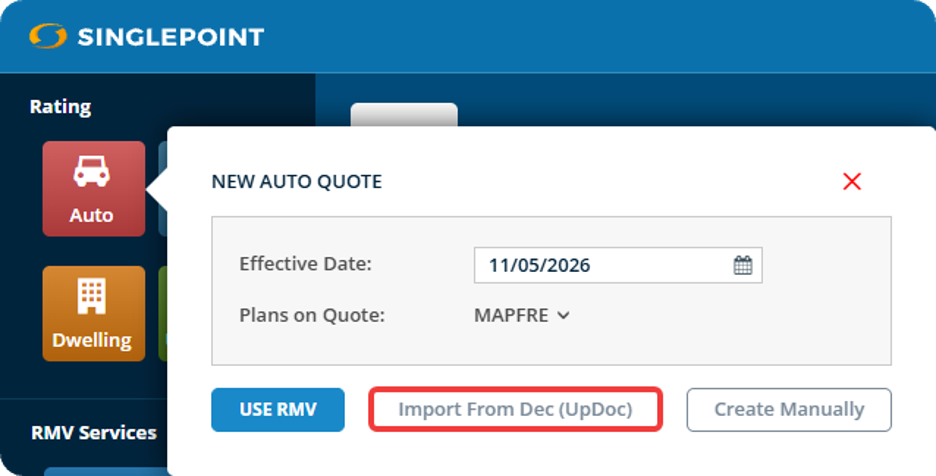
Click the Choose File button to choose the appropriate file and then click import.
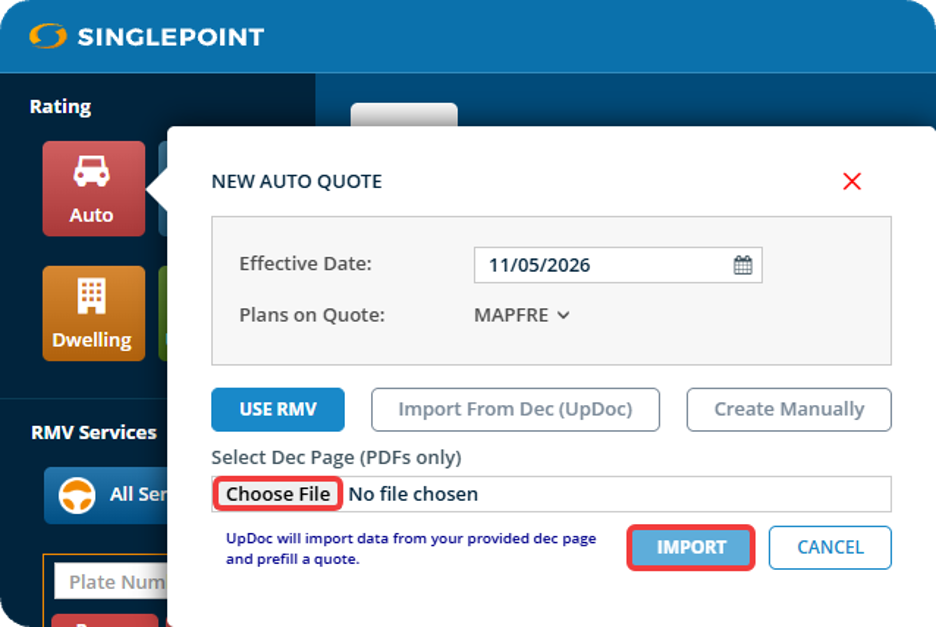
A box will then pop up. Click Start Import button to let SinglePoint Rating know you want to import the DEC page.
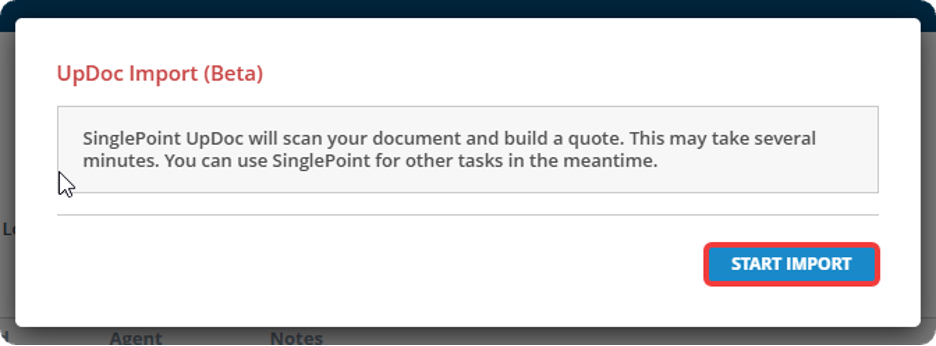
You will see a progress bar letting you know what phase of the import process you are on. (FYI – The process can take between 30-60 seconds)

Click the “View Quote” button to now load the quote into SinglePoint Rating and view it.

Congratulations, you have now successfully used the Dec Express feature to import a quote into SinglePoint Rating!
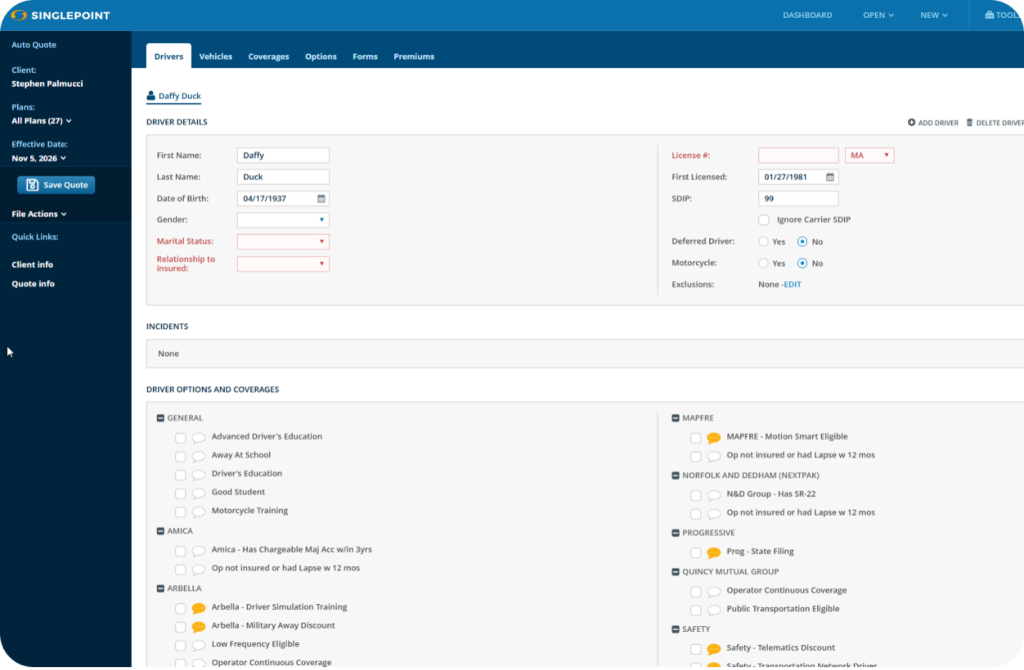
Open SinglePoint Rating and click on the Home button to start a new home quote.
Choose the State, Effective Date, and Policy & Form Type, then click Import from Dec (UpDoc).
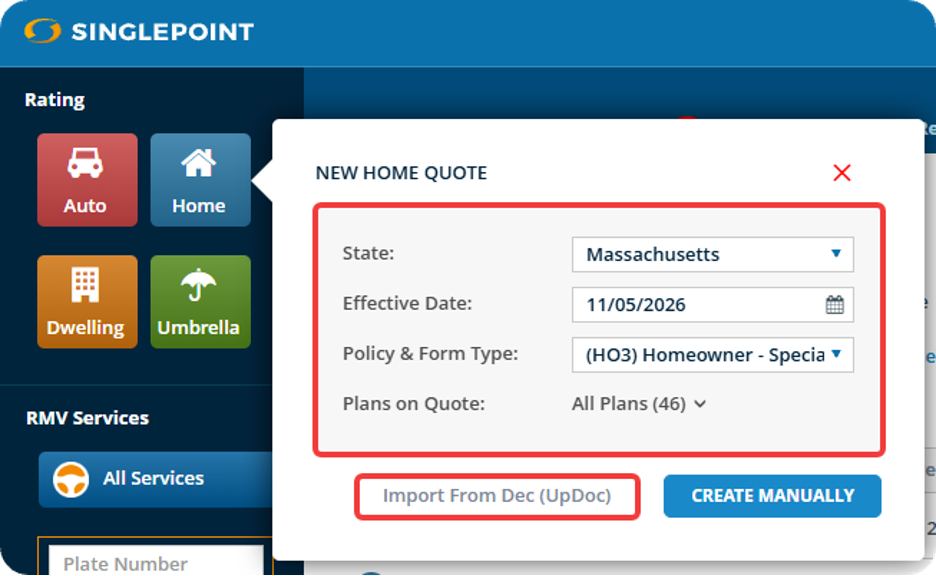
Click the Choose File button to choose the appropriate file, then click Import.
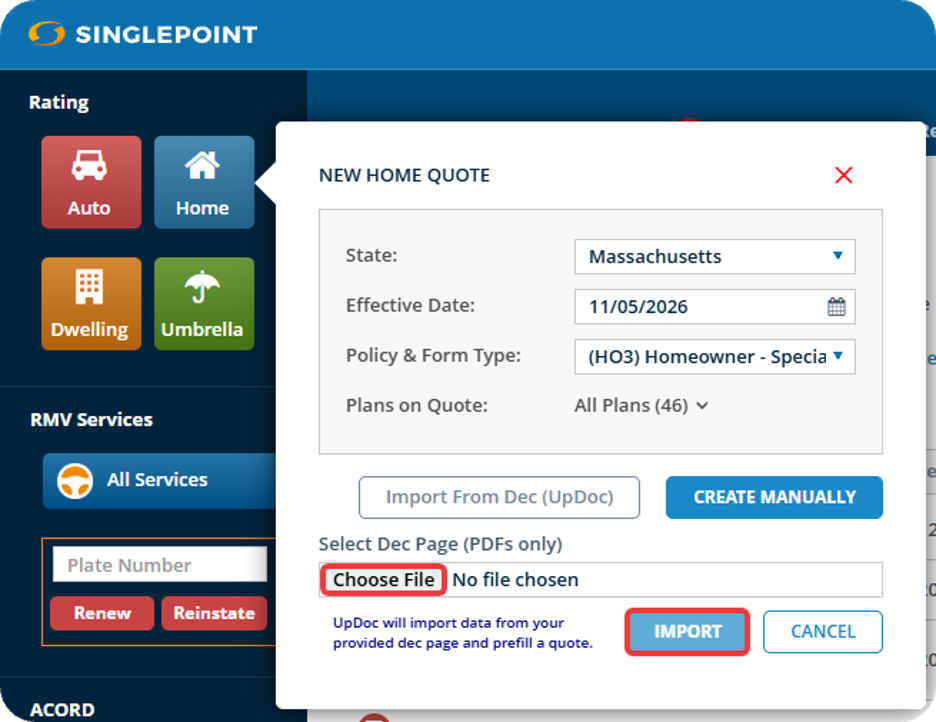
A box will then pop up. Click the Start Import button to begin importing the DEC page.
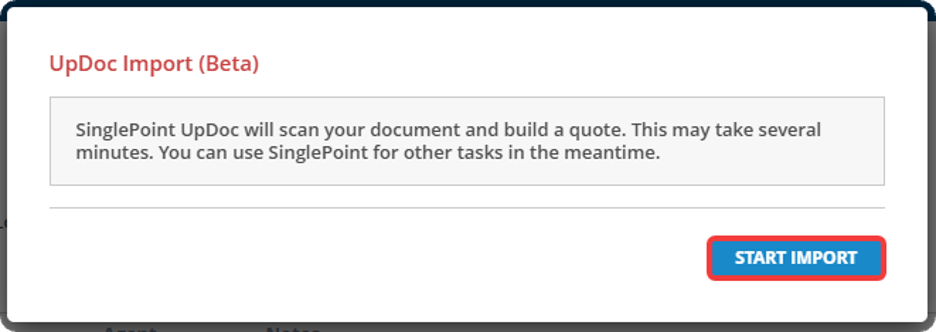
You will see a progress bar letting you know which phase of the import process you are on. (Note: the process can take between 30-60 seconds.)

Click the View Quote button to now load the quote into SinglePoint Rating and view it.

Review any data that may be different than the SinglePoint defaults you have set. Click Keep to continue or Reset to change to the SinglePoint defaults.
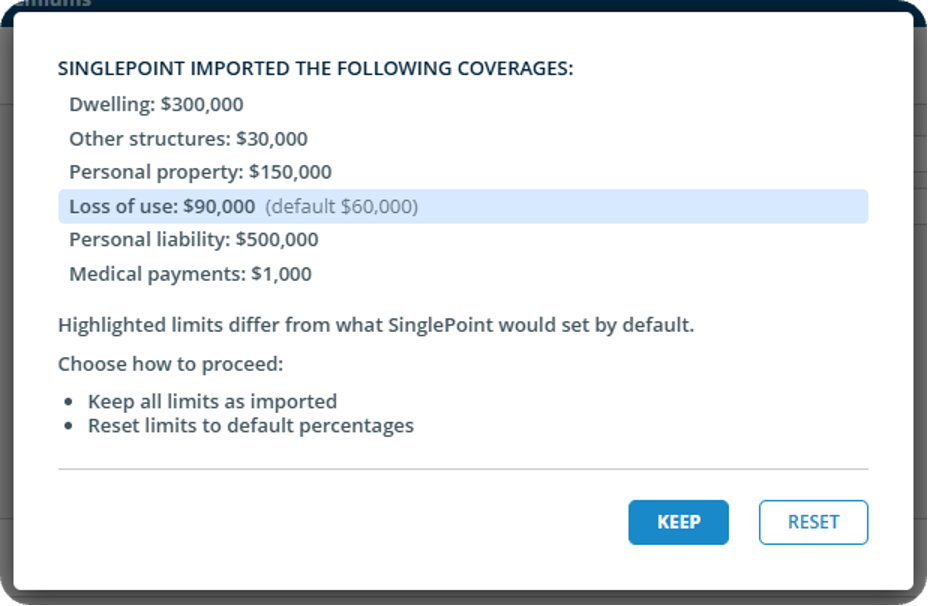
Congratulations, you have now successfully used the Dec Express feature to import a quote into SinglePoint Rating!
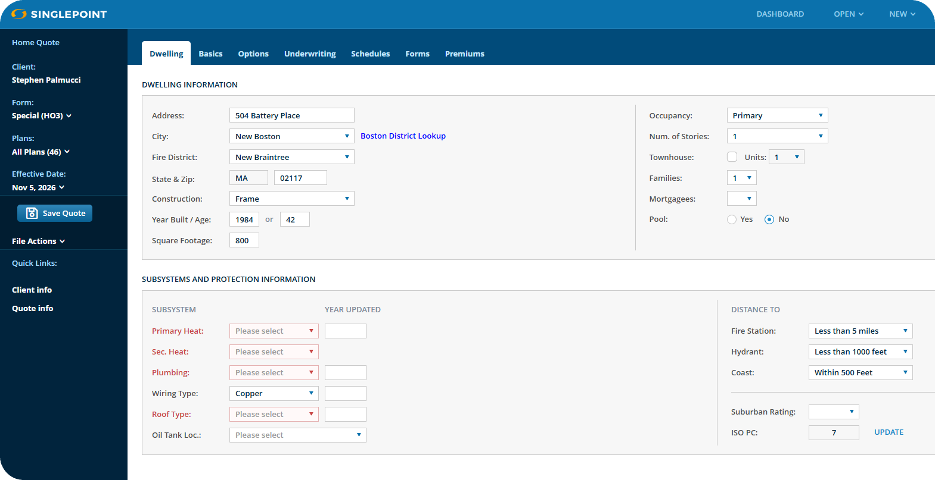
There are two ways to start using UpDoc for RTAs.
METHOD 1:
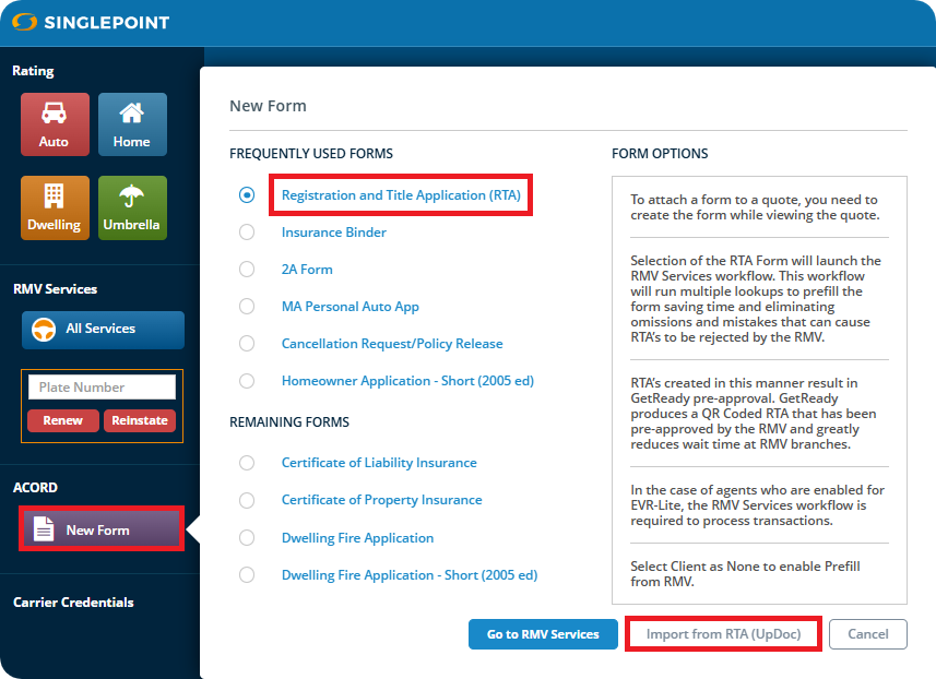
Open SinglePoint Rating and click on the New Form button on the left navigation bar.
Choose Registration and Title Application (RTA) for your form type, then click Import from RTA (UpDoc).
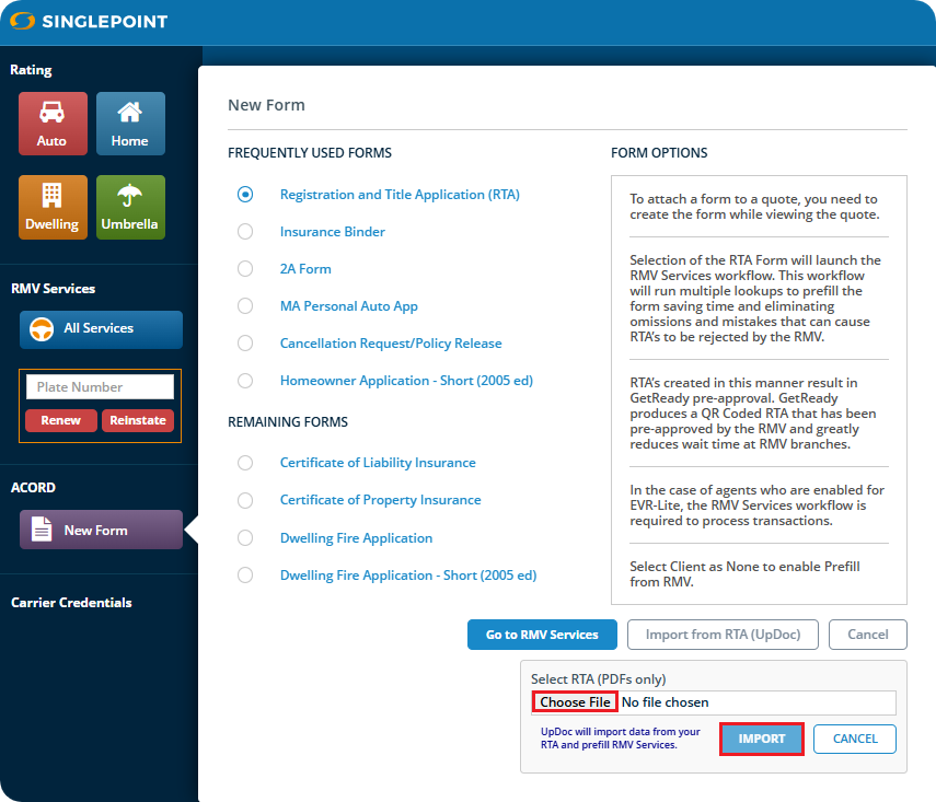
Click on the Choose File button to find the RTA you will be uploading. Once you have selected it, click Import.
Click Start Import to begin uploading the RTA.
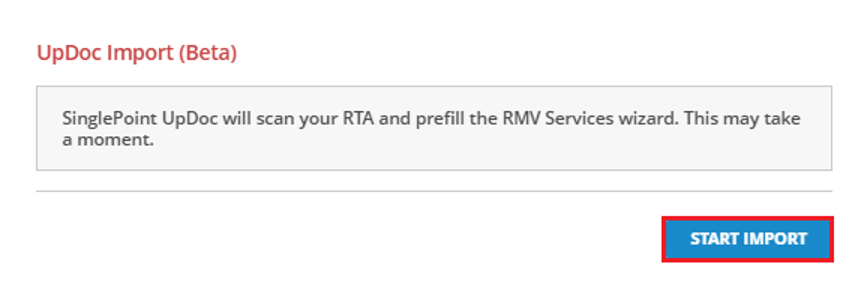
The icon below will display, indicating that the upload is in progress.(This process can take between 15-30 seconds.)

When the process has finished, you will be returned to the RTA Wizard, ready to finish your form.
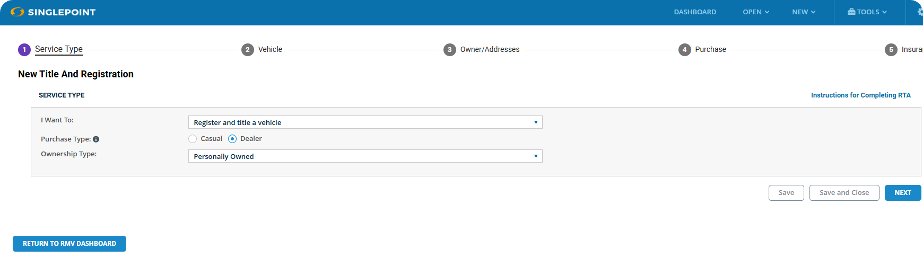
METHOD 2:
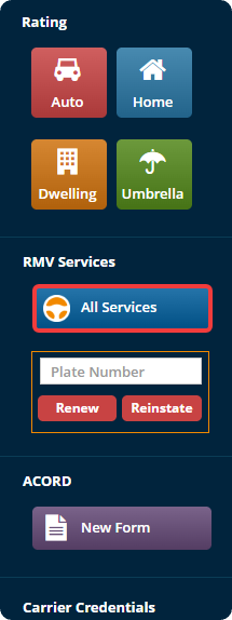
1. Click on the All Services button on the dashboard/left navigation pane.
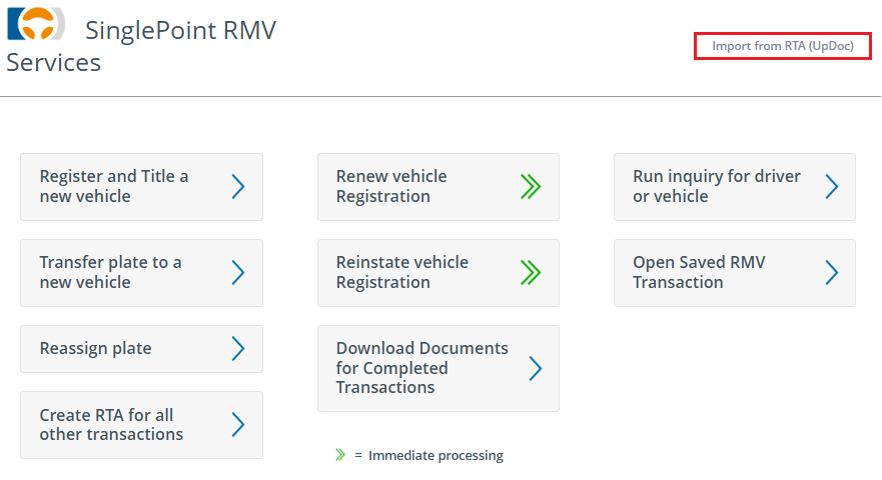
2. Click on the Import from RTA (UpDoc) button at the top right of the screen.
3. From this point forward you can follow the directions from Step 3 above to complete the RTA import.